Screen Print
 Screen Printing
I ordered myself a screen print at home kit just as lockdown begun because I had started trying this at university.
The kit came with instructions so I followed them to make sure I did this correct as the only way I had been shown how to do screen print was at uni.
It is a very easy process.
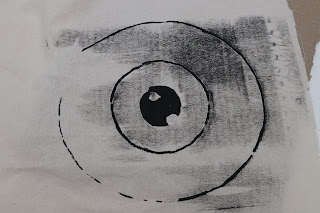
Start by finding an image (I wanted an eye) I knew I wanted to do 4 layers(colours) so I started with the black outline of my eye. I drew my outline with a blunt pencil to not to damage the screen mesh. then using the drawing ink, provided in the kit, painted over the top of the outline. This is where I now know I need to make sure I have filled all the area with ink because if not it misses the line.
When this has dried (about an hour) it then time to apply the screen block, this is a rubber liquid that I applied on top of the drawing ink to create a barrier around the image. Before applying the block place some thick cardboard pieces so that the screen is off the surface. When this has dried( again about an hour) you are ready to wash the ink off the screen. when the screen is dried its then time to print. Its the same process as university the only difference is that I have to hold the screen down I don't have a big frame to hold it in. Its also the same consistency of textile printing medium and acrylic paint.
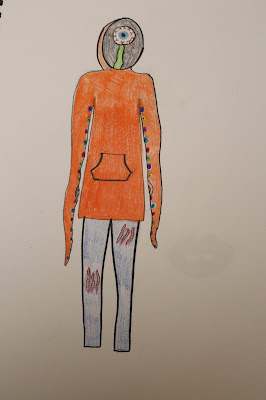
I really like how this had turned out and this is the process I will be using as part of my design.
My next step is to try it on the mesh fabric I plan to use in my final design.


Comments
Post a Comment